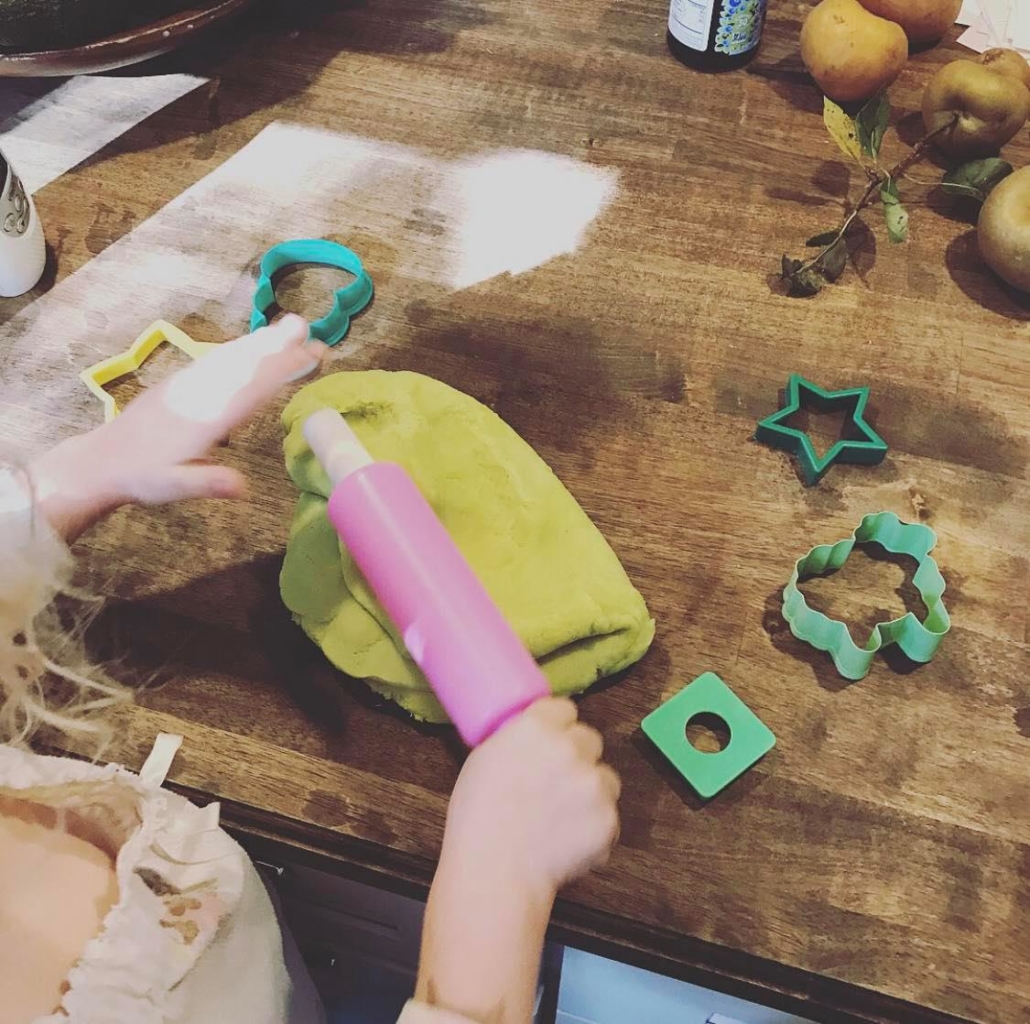
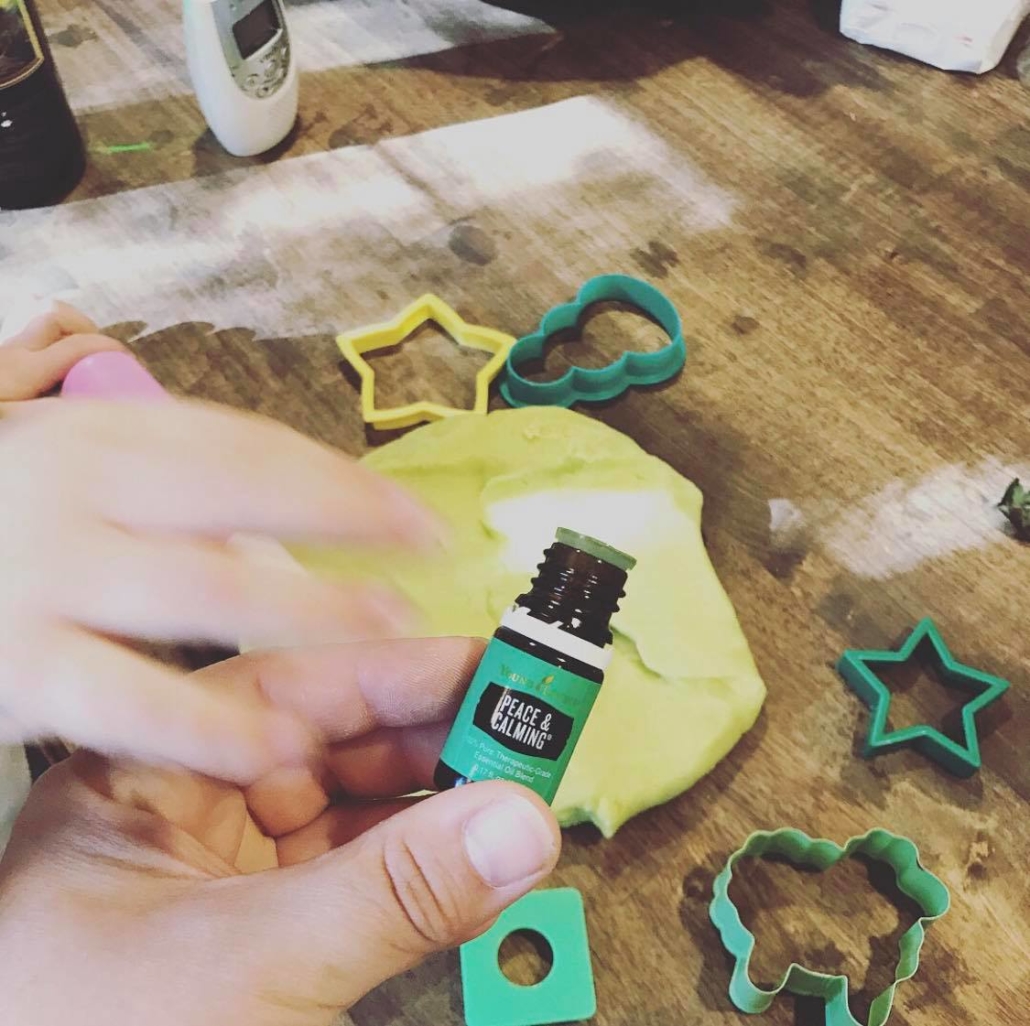
Shortly after we started using essential oils I was introduced to the concept of premade roller bottles. It really does make life easier to have pre-diluted recipes all ready to go…all you need to do is roll them on your pulse points (inner wrists, inner ankles, behind your ear lobes or the back of your neck/or down your spine) We also love applying oils to the bottoms of our feet as that is where the most nerve endings are and where your pores are the largest. As a Mom having things premade and ready to go when needed is a life saver.

Roller Bottle Supplies:

My Favorite Recipes:

de-stress is best: 12 drops Stress Away, 12 drops Valor, 5 drops lavender, 7 drops orange or grapefruit
upset tummy: 15 drops Digize, 10 drops peppermint, 8 drops spearmint
sleep blend: 15 drops lavender, 10 drops cedar wood, 10 Valerian, 5 drops Roman chamomile, 5 drops tangerine
owies blend: 15 drops lavender, 10 drops copaiba, 8 drops tea tree
immune support: 15 drops Thieves, 6 drops oregano,10 drops lemon, 10 drops frankincense
seasonal discomfort: 10 drops lavender, 10 drops lemon, 10 drops peppermint, 5 drops copaiba
respiratory support: 10 drops eucalyptus radiata, 10 drops eucalyptus blue, 5 drops myrtle, 5 drops peppermint, 5 drops lemon, 5 drops Idaho balsam fir
headache & body ache blend for adults: 15 drops peppermint, 15 drops lemongrass, 8 drops copaiba, 5 drops wintergreen, 5 drops frankincense

focus roller: 15 drops cedarwood, 10 drops valor, 10 drops lavender, 10 drops vetiver

happy mama blend: 15 drops bergamot, 10 drops stress away, 6 drops patchouli
ear support blend: 10 drops Purification, 10 drops lavender, 10 drops melrose, 10 drops copiaba

Directions:

  1. Gather all the essential oils you need in order to make the types of rollers you want to make
  2. Drop your EO’s into the roller bottle
  3. Fill the rest of the roller bottle with carrier oil (fractionated coconut oil or V6)
  4. Label your roller & apply as needed

I hope that you enjoy these recipes as much as we do! The trick with oils is to apply often, and you can definitely change up the recipes to your liking (add more or less drops, or add other oils). You can be as creative as you like, just remember when applying “hot” oils like cinnamon or clove to children or adults who are new to oils, to always dilute. This is why premade roller bottles make life more simple since you’ve already diluted the oils and they are ready to go in a easy roller application. Happy rolling!

We go through chapstick or lip balm like water in this house. I blame my husband. He’s a lip balm monster. Organic toxin free lip balm isn’t cheap either, so I started making my own. Here is my tried and true recipe. It’s super easy, fun and you can make 20 for the price of 4…or something like that, I can’t do math, but you get my drift.

The main toxic offenders you want to avoid in your chapstick: BHT (linked to reproductive toxicity), Parabens (carcinogenic – cancer causing), propylene glycol (linked to cancer) , Petroleum, fragrances (hormone disruptor), chemical sunscreens (causes cancer and disrupts hormones). Instead of slapping your gorgeous red lips with cancer and hormonal disruptors, let’s nourish them with some amazing God given plant butters and oils.

My recipe:

Ingredients & supplies

Directions

This recipe makes 7-9 chapstick containers. I usually double the batch and make a whole bunch at once. Using various sizes of containers will render different amounts of final product.

Place your wax, butter, and oil in a double boiler and melt gently over a low-medium heat (or melt in a oven safe bowl at 200 degrees). Once it’s all melted, remove from heat, stir, let cool for 4 minutes or so,then add your essential oils. Pour immediately into your lip balm containers (this is the tricky part — I find using a dish that has a pouring lip is helpful). I’ve also found using lip balm pouring holder thingys help too. Allow to cool fully before placing the caps on the containers. Make some cute labels and boom boom you got a ton of lip balms.

Optional: Add some tint by adding in 1 tsp of Savvy Minerals mineral make up powder (any of the blush colors will be perfect!) Grab your non-toxic mineral make up here.

Other fun essential oil combos for lip balms:

  • grapefruit. tangerine & spearmint
  • Christmas Spirit essential oil blend & orange
  • lavender & spearmint
  • Thieves Essential oil (great for anyone who is prone to canker sores — apply to canker sore for relief & healing.)

Homemade lip balms make great little presents or stocking stuffers too! Enjoy!

Who is a last minute shopper? This girl! I’m trying to get ahead of the game this year. I know I say this every year…but, truthfully I want to be on top of it. Last year our exchange student Noemi told us that her Mother always did this each year for her and her siblings and how much she loved it. So I decided to do the same for her and Pepper last Christmas and now I will continue with the tradition since she loved it so much. How does it work? You wrap and give 24 little tiny gifts to open, one gift every single day from December 1st all the way until December 24th. It’s like a daily advent calendar of gifts.

I haven’t quite planned out Pepper’s daily presents just yet. But I try to keep the costs down. I never give her candy, and instead small little things, what kids don’t love opening a little present every single day? I’ll definitely be sharing more on this year’s gift advent calendar in a future blog post as soon as I figure out all the presents.

I LOVE making DIY (do it yourself) gifts. All of my friends and family are familiar with them because every year this is mostly what they receive. I also love giving small gifts to our mailman, our close neighbors, and our piano teacher as well as the teachers at church. it’s a gesture of thank you for all you do…if your kids go to school, don’t forget to thank the teacher with a little something something. They sure do appreciate it.

When you have a long list of people who you want to give gifts to it can add up fast. So I like create little presents that are very unique and also affordable. One year I knitted everyone I knew a scarf! Over the years my family and friends have gotten all essential oil wellness gifts. Lately though I like to mix the “crafty” gifts with the DIY wellness gifts.

I will say no one complains about a homemade gift! I mean who doesn’t want homemade body butter, a linen sleep spray with a warm fuzzy blanket or a bar of homemade goat soap. People love homemade gifts and I love it too because it helps me not break the bank while still being able to bless everyone with a little something something!

DIY Gift Guide 2019

Some homemade gifts your friends & family will LOVE!

  1. DIY Lip Balm, these make easy affordable gifts or stocking stuffers.
  2. DIY Sleepy Time pillow spray in 2 oz glass bottle or roller bottle & a warm fuzzy blanket like this one makes a great gift. Sleepy Time pillow spray recipe: 10 drops cedar wood, 10 drops lavender, 4 drops orange, 10 drops Valerian essential oils, add 1 tbs witch hazel (fragrance free) and fill rest of bottle with filtered pure water. Roller bottle recipe: Same drops of oils as the spray bottle, but add fractionated coconut oil to the top of the roller bottle.
  3. DIY Body Butter with your favorite essential oils (I personally love a combo of cedar wood, rosemary and lavender)
  4. Make some homemade soup and gift it in a jar with a small loaf of fresh bread (this is a perfect gift for a neighbor friend or elderly friend) Here is a yummy soup recipe. Make a large batch, it’s cheap and it will make a lot of gifts! Make sure to keep your soup stored properly and gift it to your friend/family right away so they know to use it/put it in fridge or freeze it. Be sure to freeze it in a freezer zip lock and not in the glass container or it will explode and make a giant sad mess.
  5. DIY essential oil perfume & DIY knitted scarf, or this one is cute too! Perfume recipe: Add 15 drops Stress Away, 10 drops bergamot, 5 drops patchouli essential oils added to a super cute perfume bottle, fill rest of the bottle with 100% pure vodka. This is a yummy alternative to modern lab made fragrance perfumes. Perfumes are extremely toxic and they greatly damage the endocrine system, which controls all of our hormones. In the US, infertility is currently 1 in 8 couples. Gifting with healthy alternatives & educating our young adolescents on these toxins is extremely important.
  6. Gentle Babies book & a child Immune roller bottle {10 drops frankincense & 8 drops Thieves essential oil + fill 10 ml roller bottle with carrier oil like fractionated coconut oil} Immune rollers are great to roll down the spine and bottoms of your child’s feet (then socks over) a few times a day in order to support their immune system. Gentle Babies is a great book for any Mom with young kiddos or a baby on the way. If they are wanting to go the “natural” route in helping their children stay well by using essential oils then this is a must have!

Some gifts of Wellness…because you care about the health of your family & friends!

  1. DIY Elderberry Syrup would make a great gift for a friend or family member. Be sure to include some instruction on the when and how to take it.
  2. Homemade Sauerkraut is a great affordable gift. It’s easy to make, it’s cheap and it’s super good for you! Read all about the amazing health benefits here at Mama Wellness’s blog.
  3. Tea mug & some echinacea plus tea packets with lavender or thieves essential oil.
  4. Wellness Basket full of must have seasonal wellness goodies {Echinacea Tincture for immune support, Cherry Bark Tincture for respiratory health, Vitamin C to support the immune system, Throat Coat Tea, Young Living Inner Defense, & Thieves Essential Oil}
  5. Herbal Epsom Salt bath with a relaxing essential oil blend like Release, Stress Away or White Angelica…place the Epsom salts in a linen sachet (1 cup or fill the bag as desired) and add 5 drops of Essential oil to each sachet. Be sure to buy Epsom salts that are just 100% Epsom salts with no added fragrance. Lab made fragrances are toxic.
  6. Young Living FeatherOwl Diffuser & with some Sleepygize Essential oil
  1. Wool Dryer balls & some Purification essential Oil. Did you know that dryer sheets are one of the most toxic products that people use in their homes with runner ups being candles, laundry detergent & perfume?? Help a family member ditch the toxins and make the switch to using a natural alternative like wool dryer balls and some 100% pure essential oil. Just add a few drops of oil to one wool dryer ball and throw all the balls into the dryer.
  2. Homemade DIY Essential Oil Gingerbread Ornaments, we made these two years ago and they make great gifts or you can also use them to decorate the outside of a present…bonus: they smell amazing!
  3. Lavender Essential Oil & a sachet of fresh lavender to hang in the closet or a linen drawer. Fill your sachets with fresh lavender and some drops of oil. These little sachets make perfect little gifts.
  4. Some local spice mixes (we love going to our local spice shop to grab locally “made in Tennessee spices”…order up some cooking essential oil like oregano, thyme or rosemary and some kitchen spoons. This makes a great gift for the person who loves to cook.
  5. A lov-ey chew toy for the baby and some Gentle Baby or Seedlings blend Essential oil
  6. Some empty roller bottles and your favorite Essential oils to make many perfume blends as stocking stuffers {in a 10 ml roller bottle). Recipe 1: 10 drops bergamot, 7 drops ylang ylang, 4 drops lavender, 4 drops orange // Recipe 2: 10 drops Stress Away, 8 drops bergamot, 5 drops patchoili}

I hope this helps give you some fun ideas for this holiday season. Be sure to grab your Young Living essential oils by logging into your YL account (FYI: oils sold on AMAZON are not Young Living Oils but counterfeit, so please do not purchase these).

If you are not currently a member check out my post about essential oils or check out this post here. I’m excited to help you get started with your Young Living Journey.

Remember, no matter what your budget is, it’s truly the thought that counts. If all you can afford is a hand written note of “Thank You & Merry Christmas” that’s just perfect and it will truly warm someone’s heart!

Are you ready to get started with Young Living Essential Oils? Go here…I’ll be happy to help you get started. Not all oils are created equal, be sure you get the good stuff!

Every kid LOVES play dough right? Its the perfect sensory play activity for little ones. Store bought play dough sadly doesn’t love them back. What do I mean by this? The store bought stuff is not the healthiest; it’s full of chemical dyes and sometimes even strange “fragrances” have been added.

Great news though, play dough is super easy to make and it’s cheap too. So you can make a healthier version right at home.

You can even add some fun colors by using natural food dye which can be purchased on Amazon here or at your natural health food store. This makes for a fun sensory activity for your kiddo. We LOVE adding essential oils as an extra bonus to our homemade play dough. Let your child pick the oil that is calling to them, have them smell a few and decide what they want to use. Add a few drops and mix in, it will calm them and help give them clarity and focus. Today Pepper picked Peace & Calming essential oil blend, which is a favorite. Pepper also picked a monster green for our play dough color today.

Play dough Recipe:

Mix all ingredients together, then warm over medium heat, stir often (be prepared for an arm work out) until the play dough is well cooked. Once cooled, separate out into 4 balls and add 4-5 drops oil of choice to each ball.

Enjoy & Have fun!

When Pepper was born I was that crazy Mom who never wanted to take her anywhere for fear of germs. That only lasted a short while because well…life happened, and I also felt empowered by the tools I had as a new mom. I had herbs, essential oils & vitamins…and knowing the power that they had, I felt confident.

I started making elderberry syrup when Pepper was one-year-old. It’s become a fall tradition, ever since. I don’t recall where I first learned about elderberry syrup, but it’s discussed in all of my favorite herbal books.

Why I choose to make my own…

If you’ve seen elderberry syrup at the health food store, you’ll have noticed it’s extremely expensive, but you can make your own for a fraction of the price. The store bought stuff in most cases is not 100% pure elderberry and honey. Frequently, it is diluted with other ingredients and often it contains refined sugar. Sugar is the last ingredient you want to consume when you’re feeling under the weather or when you are sick. Sugar suppresses the immune system, leaving it vulnerable and unable to function properly. That basically means you will be more likely to catch something and you will be slow to recover from something as well. Please read your labels carefully, as sugar is in almost everything processed.

The Benefits of Elderberry…

No child will escape the common cold or the flu, but we can support their immune system naturally…

Elderberry flowers and the fruit have been used for centuries through out Europe in herbal medicine. Elderberry has been known for it’s immune supporting properties. It has been studied for it’s ability to fight viral and bacterial infections. “In the early 1900’s, elderberry extract was used to effectively to treat flu symptoms during an influenza epidemic in Panama.” Davis, 92. It is rich in vitamin C and anthocyanins, a rich flavonoid with “high antioxidant capacities and immunonostimulant effects.” Davis, 93. Believe it or not elderberries contain four times the anthocyanins as any other berries, even blackberries. The sambucus nigra species of elderberry have proven to be antiviral especially against different strains of the influenza virus.

“And in a double-blind, placebo-controlled, randomized study, Sambucol decreased the duration of flu symptoms to about three days. In addition to it’s antiviral properties, Sambucol elderberry extract and its formulations have been shown in studies to boost immune function by increasing inflammatory cytokine production, which benefits healthy individuals as well as people with a variety of disease.” Sorrel, 93.

Elderberry has been used to treat wounds, as well. Research also shows that it is anti-inflammatory, reducing swelling of the mucous membranes, it may also be beneficial in supporting the body through hay fever, chronic fatigue, sciatica nerve pain, diabetes and cancer.


Warning: While herbs are powerful, mild nourishing medicines with little to no side effects, we still must always use common sense and caution. Never consume uncooked, unripe or raw elderberries as they may be toxic.

The recipe

Optional herbs to add to recipe during brewing:

  • organic echinacea (2-3 tbs angustifolia root)
  • organic fresh or dried ginger (grated 2-3 tbs)
  • organic cinnamon sticks (2-3)
  • Thieves essential oil (5-10 drops added once syrup has cooled) Learn more about getting your Young Living Oils here.

Directions:

  1. Place the berries in a saucepan and cover with the water. Bring to a boil, reduce heat and simmer on low for 30-45 minutes.
  2. Strain the mixture once it’s cooled with a metal mesh strainer and add honey…you may find the 1 cup is too sweet and you may prefer to use less honey.
  3. Store in a sanitary jar and keep refrigerated for up to 3 months.

Dosage: Dosage varies on you and your families needs. We personally take 1 tbs two to three times a week for prevention and then when we are unwell, 1-2 tbs a few times through out the day to help our body fight off whatever it is fighting. Children under 2 can have their dose in a teaspoon. It’s important to do your own research, but the beauty of herbs is that they are mild but powerful and nourishing. Use common sense as with anything else.

Disclaimer: I am not a doctor and I advise everyone do their own research in order to make the best informed choice for themselves and their family.

Resources:

  1. Rosemary Gladstar’s Medicinal Herbs: A Beginner’s Guide
  2. Naturally Healthy Babies and Children by Aviva Jill Romm
  3. Herbal Antivirals by Sorrel Davis
  4. Herbal Recipes for Vibrant Health by Rosemary Gladstar

If you are about to buy a home, or you just bought a home I want you to take some time before you decide to dive into any DIY remodeling projects or hire a contractor to do a project.

The former ladies of the house & a white picket fence which is no longer there but we plan to restore one just like it.

Don’t Dive In

First things first…if you are purchasing a home that can be lived in for a while before you start making changes, I advise you to do just that, live in it for a while. Especially if you are a first time home owner.

I think when we first see a space we have an “idea” of what we want to do with it…some of those ideas may be “needs” or “wants” to be done to the home… But until we live in the space and feel the flow of the space, understand its quirks, you don’t really know what you want to do with it. You may take on a project right away, but later regret it because in hindsight it wasn’t as important, or it was the wrong choice for that home.

My Suggestions

Here are a few things to consider before you make any BIG decisions on the space that you now call home.

The way the back our house originally looked, and the old red barn which is no longer there sadly.
Apparently it blew over when a tornado came through in 2012.
Live in the Space for a While

Before deciding on what BIG things you want to have done, live in the space for at least 6 months. Understand and feel the flow of the home. Learn all the weird quirks of it. The beauty and charm of an older home is the weird quirks, and honestly decide what you can live with and see as “charming” and what things you’d like to change.

Too often I think people destroy the charm of an old house with a full remodel, removing all that was charming and weird about the space to begin with. Understanding the home and how it flows, and what your true needs are to make the space practical for living will really help you weed out what truly needs to be done to it, and how.

After living in my home for over a year I realized my initial ideas of how I wanted to restore the back area wouldn’t have been the best choice for the flow of the home, and now I have a better understanding of what I want done and the style in which I want it to be done.

Restore Instead of Remodel

Consider maintaining and restoring the original style of the home back to it’s GLORY days, instead of remodeling, try to think more in terms of restoring, especially if you have a historical period home.

If your home is from the depression like ours, research what it may of looked like, or try to discover what it did look like before it had various owners and additions or changes made to the home. Or if it is a Victorian home, try to restore the home with fixtures and woodworking that will fit in with the rest of the home but still include all the modern amenities and conveniences.

The kitchen (not original to when the house was built) but what it looked like in 1998 before it was fully remodeled in 2016.


Discover History

Try to discover the history of your home. Because I love to talk to anyone everywhere I go I was able to discover some of our homes history through a neighbor after I went to a Easter sunrise service at towns cemetery last spring.

Our neighbor Louise was so sweet to invite the former owner Beverly who lived in our home from the early 50’s to the late 80’s. Her husband’s family purchased this home shortly after it was built in 1945. Beverly and Louise came over for tea one afternoon. She brought photos which was super fun, to see the home and how it had changed throughout the years.

Outline Needs and Wants

Make a list of needs and wants – what really needs to be done, as in you can’t live unless these things are completed or changed, and then make a list of wants.

For example, I’d love to have our kitchen ceiling opened up and the back porch made into a breakfast nook. In addition I’d love to rework the root cellar underneath the kitchen with a new entrance. But for now, I realize that’s not in the budget. A new fridge, some shelving added and a bucket of paint will do wonders for the space. I can live with that until we have the budget to do what I really want done. I’d also love to have all the fireplaces restored and rebuilt and wood stoves installed, but again, that’s a want and not a necessity.

Consider Materials

When you do go to remodel/restore, carefully consider the materials. Sometimes it’s best to wait longer for the better quality items instead of just doing the quick fix for right now changes. Instead of spending the money to do it quick and cheap, just wait until you have the money you need to do it right with the materials you really want to use. Consider trying to use recycled items as well, finding vintage items to add into your home, or more sustainable/green options that will be healthier for you and your family.

Conclusion

Living in the space, getting a feel for the space, and learning the history will really help you make better choices. Often I feel like we rush in too quickly to make changes to a space before we fully understand it, and then later regret the choices. Remodeling and restoring a home is a big investment, so you want to make wise choices that you are satisfied with, it brings value to your home, while maintaining the home’s charm and history. and making it a practical home for you to happily live and love doing life in.